I published my Python library on PyPI so people can install it with pip easily. I also wanted to share the project on GitHub where I regularly store my code. This article explains how I set up synchronization between my PyPI package and GitHub repository, so I don’t have to manually upload to two places whenever I make changes.
1. Make GitHub my source of truth
Using my doer GPIO board Python library as an example, I’ve uploaded it to GitHub:
https://github.com/doer-ee/Doer_USB_GPIO_Board_Python_Library
2. Use GitHub Actions to Publish to PyPI Automatically
With this setup, I only push to GitHub, and GitHub handles the PyPI upload automatically.
2.1 Add PyPI API token
Go to PyPI account setting
- Go to PyPI account settings → “API tokens” → create a token.
- In my GitHub repo, go to Settings → Secrets and variables → Actions → add it as a Repository secret named
PYPI_API_TOKEN.
2.2 Create GitHub Actions Workflow
Inside my repo, create this file:
.github/workflows/publish.yml
name: Publish Python Package

on:
  push:
    tags:
      - 'v*'   # only trigger when you push a version tag like v1.0.0

jobs:
  build-and-publish:
    runs-on: ubuntu-latest
    steps:
      - uses: actions/checkout@v4
      - uses: actions/setup-python@v5
        with:
          python-version: '3.x'
      - name: Install build dependencies
        run: pip install build twine
      - name: Build package
        run: python -m build
      - name: Publish package
        env:
          TWINE_USERNAME: __token__
          TWINE_PASSWORD: ${{ secrets.PYPI_API_TOKEN }}
        run: twine upload dist/*
2.3 Tag a release
- Commit changes, push to GitHub.
- Create a tag:
git tag v1.0.0
git push origin v1.0.0
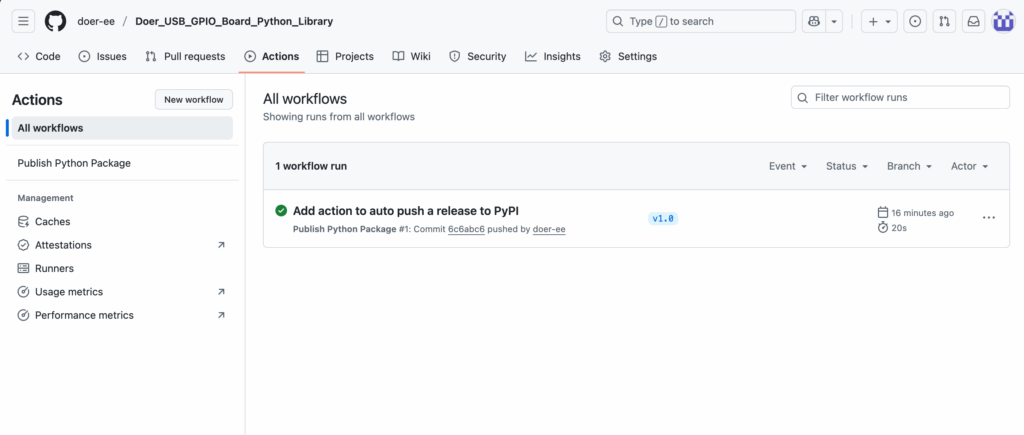
GitHub Actions will build and upload your package to PyPI automatically. The process and results are showing here on the Action tab: